Requirements
Create requirement containers for feature areas, then organize them with use cases and acceptance criteria.
Overview
Requirements is where product work starts in UXit. A requirement is the top-level container for a feature, capability, client project, product area, or meaningful slice of work.
Think of a requirement as the umbrella. It names what needs to exist, then gives the team a place to break that work into user scenarios and testable behaviors.
Requirement -> Use Case -> Acceptance CriteriaRequirement: The feature area or capability being planned.Use Case: A specific scenario inside that requirement.Acceptance Criteria: The behaviors that must be true for that scenario to work.
For example:
Requirement: Pizza ordering process
├── Use Case: Browse available pizzas
│   └── Acceptance Criteria: User can view price, ingredients, and availability.
├── Use Case: Customize toppings
│   └── Acceptance Criteria: User can add and remove toppings before checkout.
└── Use Case: Complete checkout
    └── Acceptance Criteria: User receives confirmation after payment succeeds.
This order matters. If you skip straight to criteria, you end up with a loose checklist. If you stop at the requirement, the work is too broad to validate. UXit keeps all three levels connected so planning, review, and evaluation stay traceable.
What a Requirement Should Be
A good requirement describes a meaningful capability, not every tiny task. It should be big enough to hold several related use cases, but small enough that the team can understand what area of the product it covers.
Compare the difference:
Use a Requirement for a capability
├── Account creation and onboarding
│   └── Covers sign up, verification, profile setup, and first-run guidance.
├── Pizza ordering process
│   └── Covers browsing, customization, checkout, and confirmation.
└── Client dashboard reporting
    └── Covers metrics, filtering, exports, and review workflows.

Do not use a Requirement for a tiny task
├── Change button color
│   └── Put this in a design or implementation task.
├── Fix typo on homepage
│   └── Put this in a content task unless it belongs to a homepage rewrite.
└── Add one tooltip
    └── Put this inside a broader requirement like onboarding guidance.
Small tasks may belong in your external tracker. UXit requirements are more useful when they describe the user-facing capability those tasks support.
Workspace Views
Workspace capacity
Freelance and Professional include 1 workspace. Team includes unlimited workspaces. Workspace switching is not active yet, so Requirements currently uses your active workspace.
The Requirements workspace has four tabs:
Requirements: Card view for creating, editing, archiving, and sharing requirement records.Kanban: Board view for tracking use cases by status.Gantt: Visible in the app, but not active yet.Activity: Visible in the app, but not active yet.
Gantt and Activity
Gantt and Activity currently show coming-soon states. The active Requirements workflows today are the Requirements and Kanban tabs.
Manage Requirements
Point of contact
New requirements default to the user who creates them. A future update will allow Team plan workspaces to select a point of contact and assign requirements to other teammates.
To create a requirement:
- Open
Requirements. - Click
New Requirement. - Enter the requirement details.
- Click
Create.
Requirement Fields
Requirement: The feature or capability being delivered. Limited to 32 characters.Description: A short summary of the requirement. Limited to 84 characters.Tracking Link: A link to related work in tools like Jira, ClickUp, Asana, Linear, or another tracker.Point of Contact: The person responsible for the requirement.
Tracking IDs
Tracking IDs give every Requirement, Use Case, and Acceptance Criteria item a short, stable reference.
Use them when you need to point to scope without copying long links, searching through paragraphs of text, or trying to explain which similar item you mean. They are useful in tools like Jira, Linear, Asana, ClickUp, spreadsheets, checklists, contracts, comments, and client review notes.
For example:
Client scope review
├── REQ-001 Pizza ordering process
│   ├── UC-001 Browse available pizzas
│   │   ├── AC-001 User can view available pizzas before choosing one.
│   │   └── AC-002 Out-of-stock items are clearly marked.
│   └── UC-002 Complete checkout
│       ├── AC-003 User can review the order before payment.
│       └── AC-004 User receives confirmation after payment succeeds.
└── REQ-002 Delivery tracking
    └── UC-003 Track order status
        └── AC-005 User can see the current delivery status.
This makes the planned work searchable and traceable. If a client asks whether delivery tracking was included, you can reference REQ-002 instead of rewriting the whole scope. If a developer needs the checkout confirmation behavior, they can look for AC-004.
Tracking IDs follow your settings in Settings -> Customization:
Auto: Uses UXit's default prefixes, such asREQ,UC, andAC.Manual: Lets you set custom prefixes if your team or client uses a different naming system.None: Hides tracking badges when you do not want IDs shown.
Requirement Cards
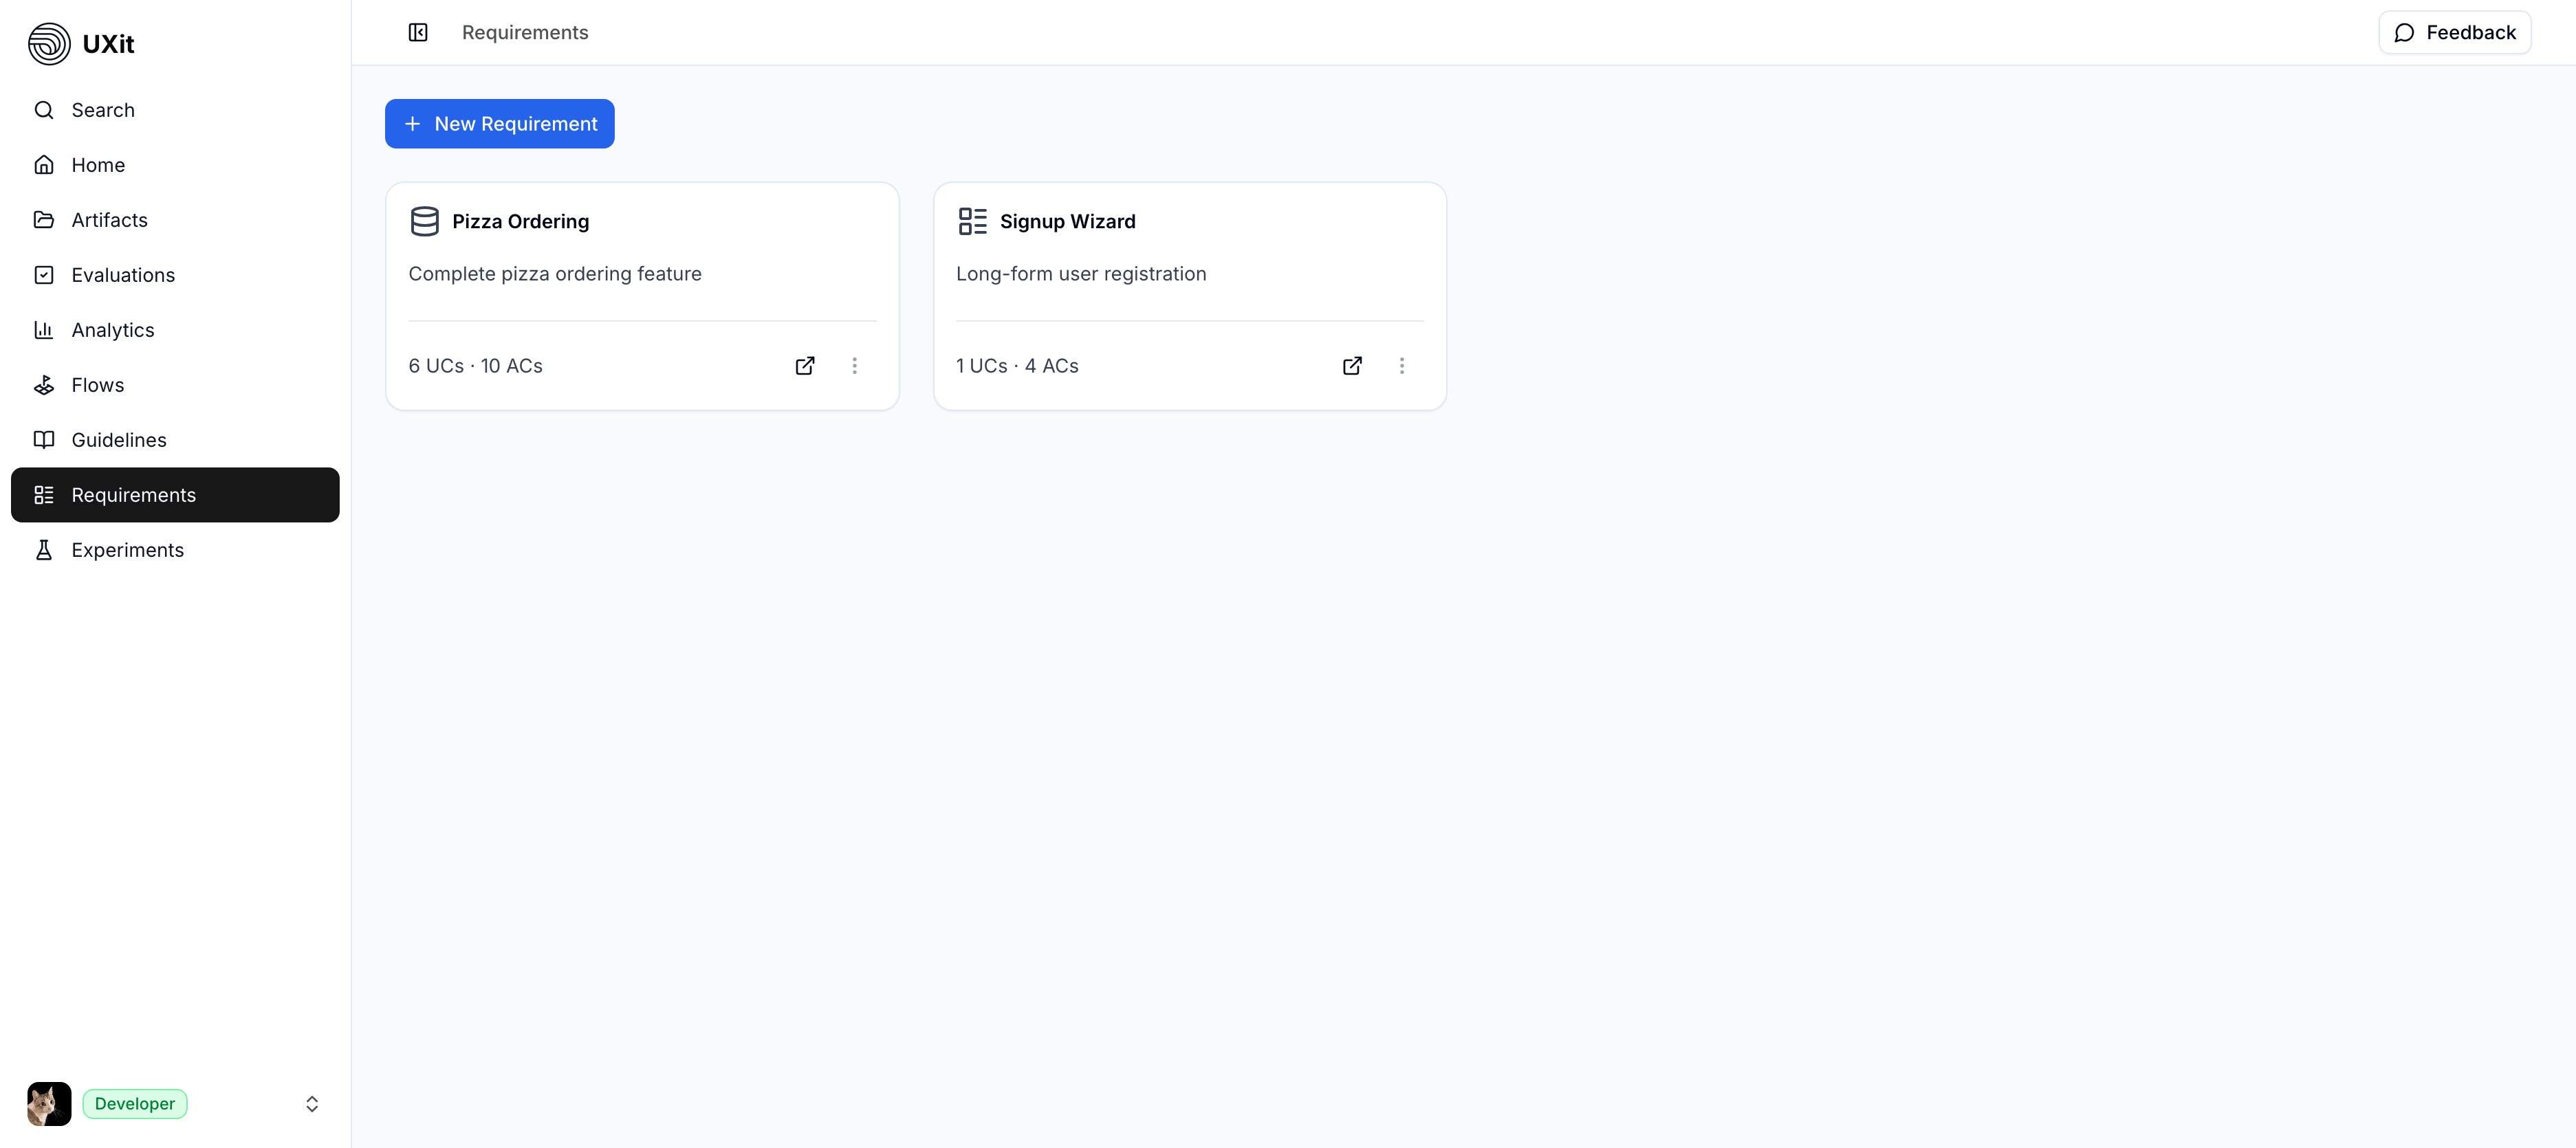
New requirements appear as cards in the Requirements tab. A card can show the requirement ID, title, description, point of contact, created date, use case count, acceptance criteria count, progress, and an Actions menu.
Requirement Actions
Open a requirement card's Actions menu to manage that requirement.
Edit: Update the requirement name, description, tracking link, or point of contact.Share: Create a shareable link for that requirement.Archive: Move the requirement out of the active list without permanently deleting it.
Draft with Muse
Muse is especially powerful in Requirements. You can describe what you are trying to build in plain language, talk through the idea, and let Muse draft requirement, use case, and acceptance criteria cards for review.
Review the draft before applying it to the board. This page only covers the Requirements entry point. The full Muse workflow, credits, attachments, lenses, and BYOK/OpenRouter setup are documented in the dedicated Muse page.
Best Practices
- Start with the requirement, then add use cases, then write acceptance criteria.
- Use requirements for product capabilities, client deliverables, or meaningful feature areas.
- Keep requirement names short enough to scan in cards and share links.
- Add a tracking link when the requirement maps to external work.
- Use tracking IDs when discussing scope with clients, teammates, or external tools.
- Add a point of contact when ownership matters.
- Use
Archiveinstead of delete when the work may come back later.