Benchmarks
Group evaluation runs under a benchmark so you can track scores over time.
What Is A Benchmark?
A Benchmark lets you ask comparison questions over time:
- Did this part of the product get better after we changed it?
- Did the checkout redesign score higher than the previous version?
- Did the onboarding update fix the issues from the last review?
- Are repeated evaluations moving in the right direction?
You run an Evaluation, make design changes, then run another Evaluation against the same product area. The Benchmark keeps those runs together so Analytics can show the trend over time, whether you are tracking a full flow, a single screen, or a smaller interaction.
Simple example
Imagine a pizza ordering app. Users need to add toppings. That need stays the same, but the UI can change:
- v1: Pick a topping, then click Save (score: 58%)
- v2: Pick a topping, and it auto-saves (score: 71%)
- v3: Use chips to pick several toppings (score: 74%)
All three reviews belong under one Benchmark, such as Pizza Toppings Selection, which you can trace back to a Requirement or Use Case when needed.
Where to Find Benchmarks
Open Evaluations in the sidebar, then choose the Benchmarks tab.
EvaluationsIndividual review runs.BenchmarksGroups those runs belong to.
Benchmarks Table
The Benchmarks tab gives you a searchable table for managing benchmark groups.
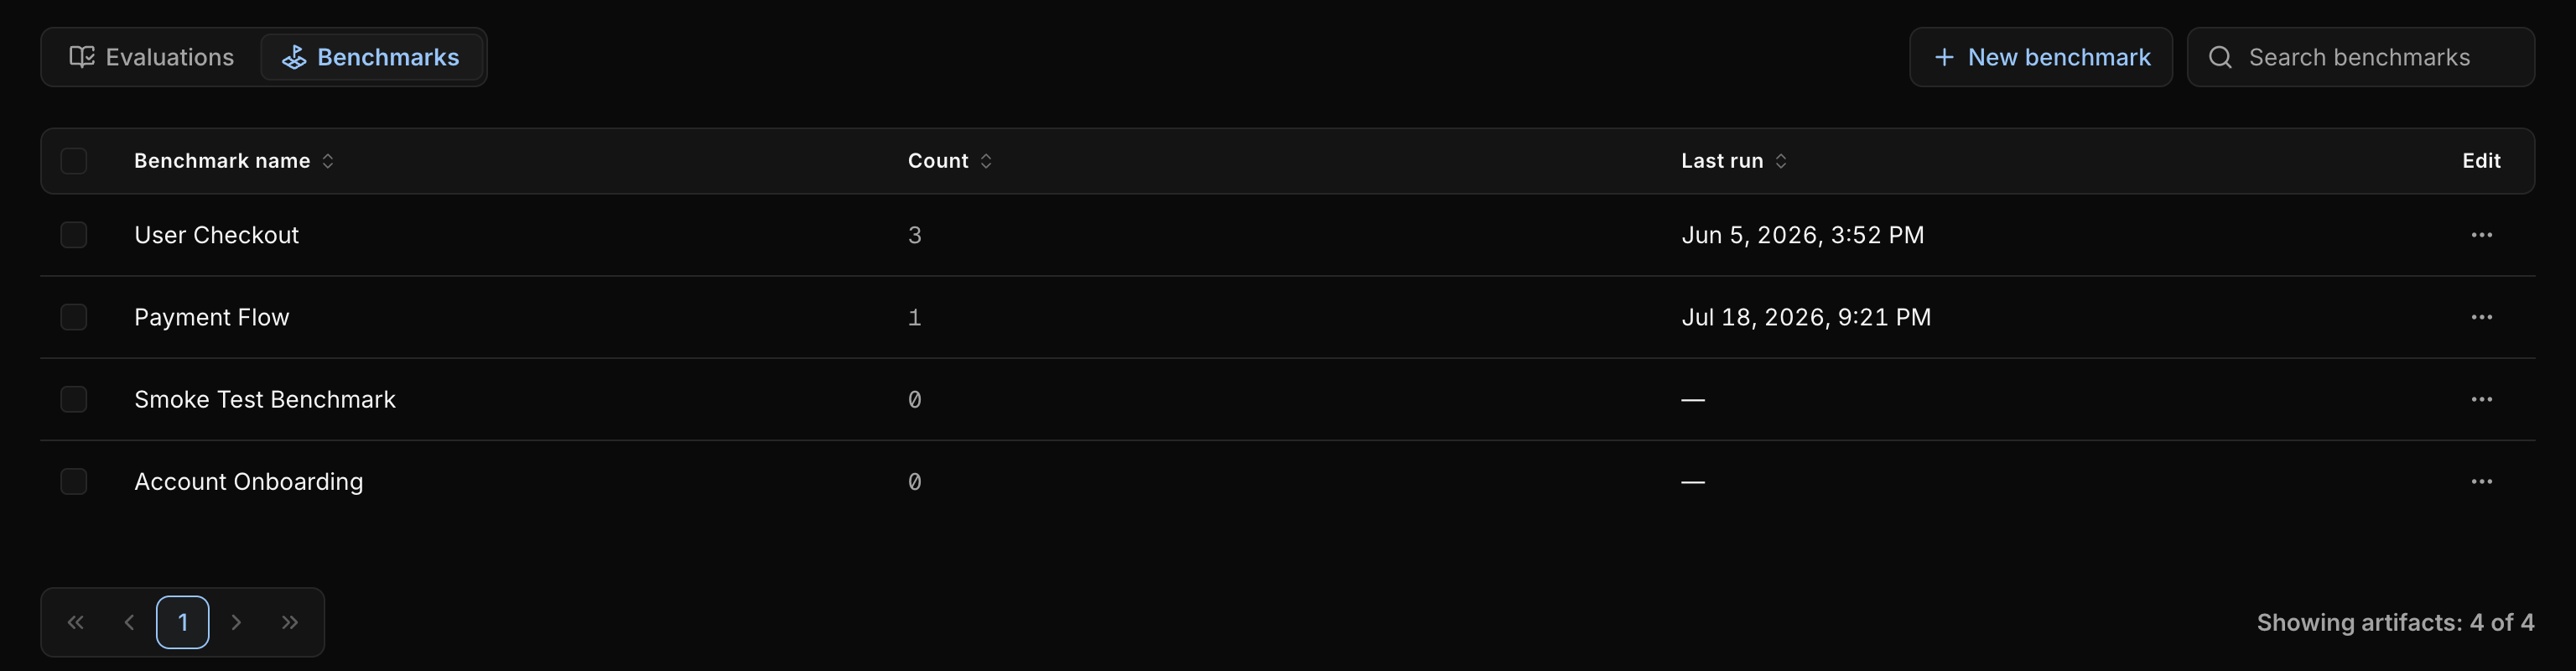
Use New benchmark to create a group. Use Search to find a benchmark by name.
Each row shows the benchmark name, evaluation count, last run date, and Edit actions.
Create a Benchmark
- Open
Evaluations, then select theBenchmarkstab. - Click
New benchmark. - Add a clear benchmark name.
- Optionally add a description.
- Click
Create.
You can also create a benchmark while starting a New Evaluation. Use the New option in the benchmark picker when the run needs a group that does not exist yet.
Edit Actions
The table includes an Edit column for benchmark-level actions.
Current row actions include:
AnalyticsView trends when the benchmark has at least one evaluation.EditChange the benchmark name or description.DeleteRemove the benchmark after confirmation.
If you delete a Benchmark, the Evaluation will remain. It may show as Unassigned afterward.
Reusing vs New Benchmarks
Reuse the same Benchmark when you are still measuring the same product need, even if the UI changed. Create a new Benchmark when the work belongs to a different product area, user goal, or comparison question.
The Benchmark and Guideline Set both affect trend quality. The Benchmark defines what you are comparing. The Guideline Set defines the criteria used to score it. If either one changes too much, the trend can stop being a fair comparison.
Reuse a Benchmark when:
- Pizza Toppings Selection can compare saved toppings, auto-save, and multi-select chips for the same toppings task.
- User Checkout can compare different versions of the same checkout flow.
- Account Signup can compare copy, layout, or validation changes in the same signup experience.
- Search Results can compare changes that still aim to help users find the right result faster.
Create a new Benchmark when:
- The evaluation moves to a different product area, such as toppings to payment.
- The user need changed enough that the old trend would no longer be a fair comparison.
- A new flow, screen, or interaction needs its own history in
Analytics. - Stakeholders need to track a separate goal, such as checkout completion versus account recovery.
Keep criteria history clean
If you need to heavily rewrite the categories or criteria in a Guideline Set, create a duplicate or new version before making those changes. Editing the same set too aggressively can make future benchmark trends harder to trust because later evaluations may be scored against criteria that did not exist in earlier runs.
Pro Tips
- Name benchmarks after the user goal or product area, not the temporary design version.
- Keep the
Guideline Setconsistent when you want fair score comparisons over time. - Re-evaluate after meaningful changes, not after every small visual tweak.
- Create a separate benchmark when the question you are answering has changed.
- Check
Analyticsafter each completed run to see whether the trend is improving, flattening, or getting worse.